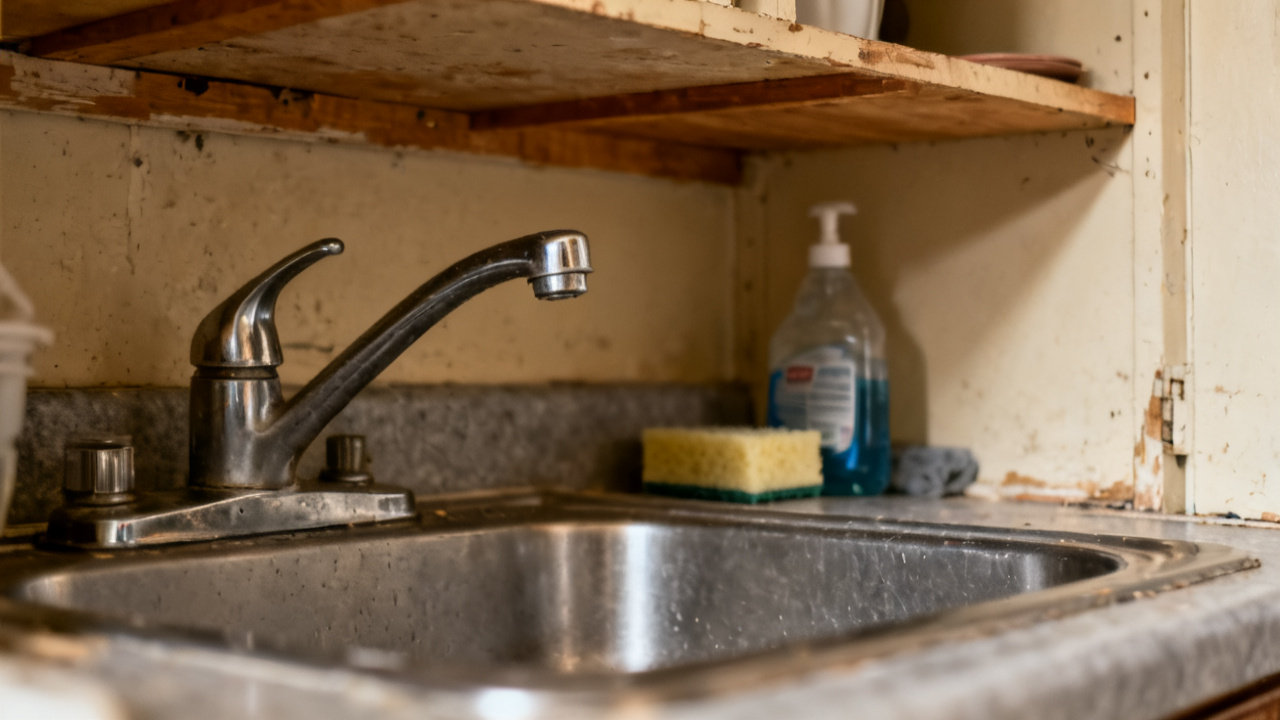
You drop it in. One edge stays up. You prod the higher side with your index finger, and it pops right back up like it’s got a tiny spring under it, leaving a gap wide enough to drain half a sink of soapy water in three minutes. You’re standing in your apartment hallway right outside the bathroom, you already grabbed the small flathead screwdriver from the junk drawer by the front door, and you don’t have to run out for any supplies to fix this before your roommate gets home with their takeout that always stinks up the sink when they dump leftover sauce.
What’s Throwing The Stopper Off Balance
The issue almost always traces to the small horizontal pivot rod that connects the stopper to the lift lever under the sink, not the stopper itself. You might have bumped the rod when you were reaching for the drain cleaner last week, or the small plastic retaining nut holding the rod in place loosened over months of regular use, shifting the angle the stopper sits at when you drop it down. The gap you see forms when one side of the stopper’s rubber rim catches on the Basin Lip just enough to keep it from seating fully, while the other side drops down flush. In rare cases, a small clump of hair or food scrap stuck between the stopper and the sink surface can cause the same tilt, but that’s easy to wipe away before you make any adjustments to the hardware under the sink.
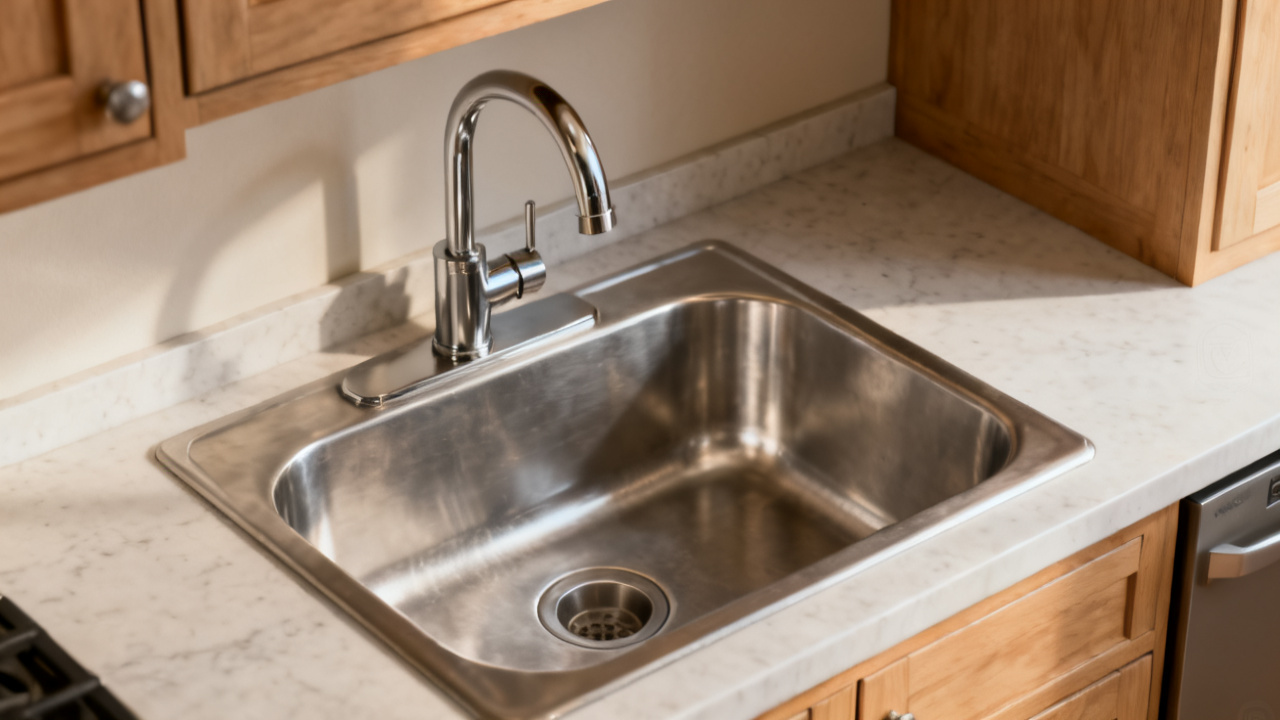
Components You Do Not Need To Disassemble
You don’t have to take apart the entire drain assembly, yank out the P-trap, or loosen the sink’s mounting bolts to fix this specific issue. Leave the lift lever at the back of the faucet fully attached, and don’t unscrew the drain flange from the top of the sink, since that part has no impact on how the stopper sits when lowered. You also don’t need to grab any plumber’s putty or silicone sealant for this job, since there’s no leak to patch here, just a minor alignment problem. If you have a bottle of all-purpose cleaner nearby, you can wipe down the stopper rim before you start adjusting, but that’s optional, not a required part of the fix.
Fast Adjustments For A Secure Seal
This process takes less than 10 minutes total, even if you have to pause a few times to get the alignment right. Follow these steps to get the stopper sitting flat without any unnecessary disassembly:
- Climb down on your knees under the sink and pull the small plastic clip that connects the pivot rod to the vertical lift rod running up to the faucet lever, setting the clip on the edge of the vanity cabinet so you don’t lose it when you move the rod around.
- Unscrew the round retaining nut that holds the pivot rod in the drain pipe, turning it counterclockwise by hand until it’s loose enough to slide the rod a quarter inch out of the pipe, no tools required for this step unless the nut is extra tight, in which case you can use the flathead screwdriver you grabbed earlier to gently nudge it loose.
- Lift the stopper slightly from the top of the sink, rotate it 15 degrees clockwise, and lower it back down to test the alignment, adjusting the angle in small increments until the entire rubber rim sits flush against the sink surface with no visible gaps around any edge.
- Slide the pivot rod back into the drain pipe, lining up the hole in the bottom of the stopper with the tip of the rod, then tighten the retaining nut by hand just until it’s snug, no need to use pliers that could crack the plastic nut or scratch the drain pipe.
- Reattach the plastic clip to connect the pivot rod and lift rod, then test the lift lever a few times to make sure the stopper raises and lowers smoothly without catching on any part of the drain assembly.
Illustrative example: If you rotate the stopper 30 degrees instead of 15 on your first try, you might end up with an even larger gap on the opposite side, so make small adjustments between each test to avoid overcorrecting and wasting extra time. You can run a small amount of water in the sink after you finish adjusting to confirm there’s no slow drainage through the gap, and if you still see water leaking past the stopper, you can repeat the steps to shift the angle slightly until the seal is secure.
Proper Placement For The Stopper Post-Adjustment
Once you confirm the stopper sits flat when fully lowered, you can leave it in the down position if you plan to fill the sink for dishwashing, or pull it up to the second notch to let water drain while catching food scraps and hair before they make it down the pipe. You don’t have to store it anywhere else when it’s not in use, since it’s designed to stay attached to the pivot rod full time, and removing it regularly can loosen the retaining nut faster than regular use alone. If you do pull it out for deep cleaning every few weeks, make sure to line up the flat edge on the bottom of the stopper with the pivot rod when you slide it back in, so you don’t end up with the same tilted issue again right after you clean it. You can also leave it in the fully raised position when you’re not using the sink, to let air circulate around the drain and cut down on mildew buildup in the pipe.
Minor Cosmetic Flaws To Brush Off
You might notice small scuffs on the top of the stopper from months of dishes being set on it, or faint discoloration around the rubber rim from hard water, and none of these impact how well the stopper seals when it’s aligned correctly. A tiny chip on the plastic edge of the stopper that’s less than a millimeter wide won’t cause a leak, so you don’t need to replace the whole part just for that, even if the chip is visible when you look down at the sink. You also don’t have to worry about faint squeaking when you lift or lower the stopper, as that’s just normal friction between the pivot rod and the plastic retaining nut, and it will fade on its own after a few uses as the parts wear in to their new alignment. If you see small bits of limescale on the top of the stopper, you can scrub them off the next time you clean the sink, but they don’t affect the function of the seal at all.
Next Routine Stopper Check
You will run through this same quick check the next time you deep clean your bathroom sink, which you already have scheduled for three weeks from now to stay on top of grime buildup around the faucet and drain. Before you start scrubbing the sink surface, test the stopper to see if it sits fully flat when lowered, and if you spot a gap, run through the same adjustment steps to fix it in five minutes or less. You can also test it after any time you reach under the sink to grab cleaning supplies, since accidental bumps to the pivot rod are the most common cause of the tilted stopper issue, and catching the problem early keeps you from dealing with slow drainage when you’re trying to fill the sink for a bath or wash dishes. If you end up adjusting it three times in a two-month span, you can pick up a low-cost replacement retaining nut from the hardware store to replace the worn one that’s loosening too often, no extra tools required to swap it out using the same steps you followed for today’s adjustment.