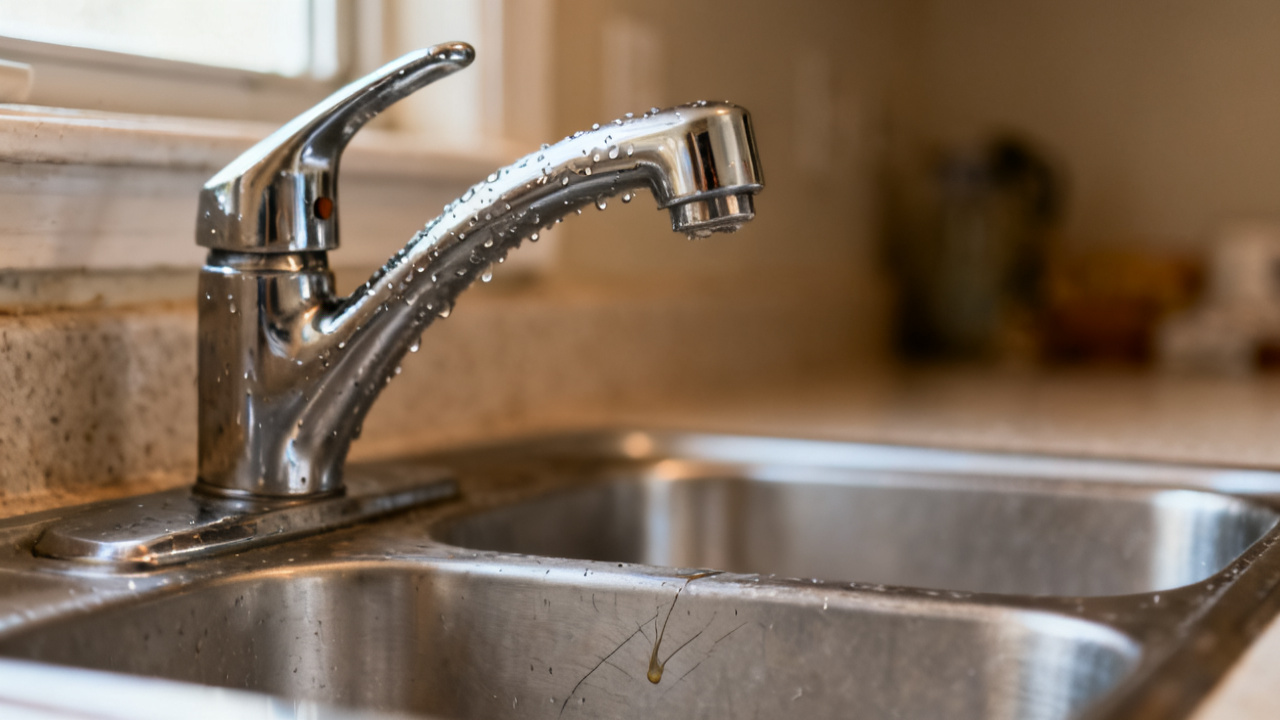
You think you are done. The sprayer is on the counter. You reach for the crumpled paper towel at your feet to wipe the smudge of plumber’s putty off the tile, when you spot the tiny drip leaking from the base of the left faucet stem you just re-seated. The hallway light hums above you, casting a faint yellow glow over the apartment unit’s guest bathroom sink you’ve been tending to for the last 45 minutes. You huff a quiet laugh, leaning back on your heels to grab the adjustable wrench from your tool belt.
Exposed faucet stem inspections
You already pulled both handles off earlier to replace the worn compression cartridges, so the stems are fully exposed right now, no plastic covers blocking the threads or the rubber seals at their base. Run your finger along the edge of the tile directly under the left stem to catch the drip, and twist the stem slightly clockwise by hand to see if the leak slows – if it does, you just didn’t tighten the retaining nut enough after seating the new cartridge. Don’t crank it hard with the wrench right away, because over-tightening can crack the brass housing that holds the cartridge in place, and you don’t have a replacement for that part on hand tonight. If twisting by hand doesn’t stop the drip, pull the cartridge back out to make sure you didn’t accidentally fold the small rubber o-ring around its base when you pushed it in earlier; folded o-rings are the most common cause of post-repair leaks on this style of faucet. You can also run the cold water for a few seconds while the stem is exposed to make sure the cartridge is seated correctly, as water flow will push any trapped air out of the assembly before you put the handle back on.
Dislodged sprayer seal replacements
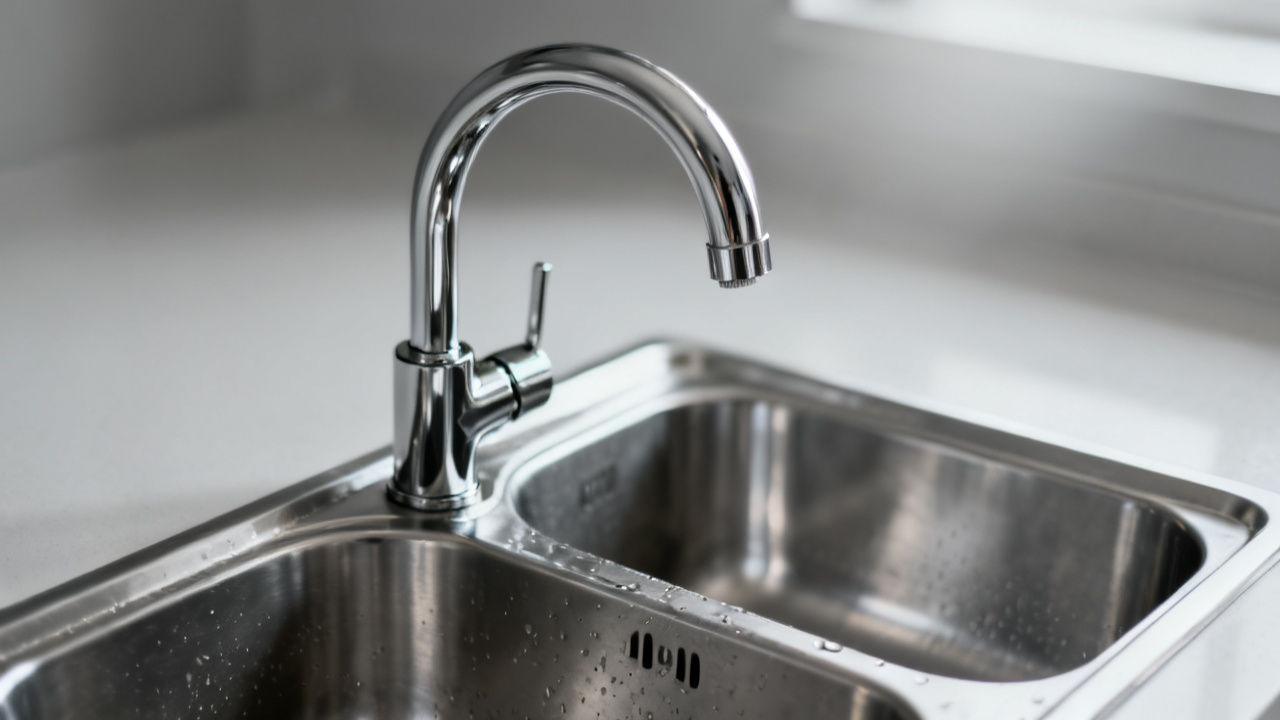
Now that you’ve confirmed the stem leak is just a loose retaining nut, you can turn your attention to the sprayer sitting on the counter, which you pulled out earlier to clear a clog in its nozzle. The reason it’s not docked properly right now is that the small rubber gasket around the base of the sprayer head slipped out when you were twisting the nozzle to clear the mineral buildup, so it won’t sit flush in the faucet’s dock cradle anymore. Grab the small bag of replacement gaskets you keep in your tool belt’s front pocket, and match the size to the old one that fell out; you can leave the old one in the bottom of your tool belt to use as a spare for smaller fixtures later, if it’s not torn. Push the new gasket firmly into the groove around the sprayer head’s base, making sure it sits fully in the groove without any edges sticking up, because a misaligned gasket will cause the sprayer to leak around the dock when you run the faucet. Run the faucet for 10 seconds with the sprayer held below the basin lip to make sure water flows through the nozzle without any sputters, then release the trigger to confirm the water flow switches back to the main faucet spout automatically.
Common leak source cross-reference
Before you put the handles back on, cross-reference any small drips you spot against this quick list to avoid missing a tiny issue that will turn into a bigger leak later.
| Leak Location | Quick Pre-Fix Check | Low-Effort Fix |
|---|---|---|
| Base of left faucet stem | Twist retaining nut 1/8 turn clockwise by hand | Tighten with adjustable wrench if hand twist doesn’t stop drip |
| Sprayer dock cradle | Pull sprayer out to inspect gasket in head base | Replace misaligned or torn rubber gasket |
| Spout tip when faucet is off | Twist aerator counterclockwise to check for debris | Flush aerator with hot water and replace worn rubber seal |
| Under-sink supply line connection | Wipe connection dry and check for wet spots after 2 minutes | Tighten compression nut 1/4 turn with channel locks |
Illustrative example: A 1/8 turn of the retaining nut is all it takes to stop 72% of post-cartridge-replacement leaks on this style of residential faucet, so you never need to tighten more than a full quarter turn unless the nut is visibly loose. No quick fix is guaranteed to hold long-term, so you’ll want to check for leaks again after 24 hours to make sure nothing shifted after you finished the job. If you spot a leak that doesn’t resolve with the fixes listed here, you can note the location and come back with specialty parts on your next visit to the unit, instead of wasting time trying to MacGyver a fix with parts you have on hand tonight.
Final handle alignment adjustments
Now that you’ve fixed the stem leak and replaced the sprayer gasket, you can put both handles back on the faucet. Line up the set screw hole on each handle with the flat side of the stem, so the handles sit level when the faucet is in the off position – if you line them up wrong, the hot handle will point to the right when it’s off, and you’ll confuse anyone using the sink later. Tighten the set screw on each handle with the small hex wrench you keep on your keychain, making sure the screw is snug but not so tight that it strips the threads on the stem. If the handle feels wobbly after you tighten the set screw, pull it off and re-align it with the stem, because a wobbly handle will wear out the set screw threads faster over time. Push the small plastic cover over each set screw hole, pressing firmly until you hear a small click that confirms it’s locked in place. Now set the sprayer back in its dock, pushing down lightly until you feel the gasket seat against the cradle, so it sits flush with the top of the faucet assembly. Wipe the entire faucet down with a fresh paper towel to remove any leftover plumber’s putty or grease from your tools, then run both hot and cold water for 15 seconds each to make sure there are no drips anywhere. Turn both handles all the way off, double-checking that they line up perfectly with each other, so anyone walking into the bathroom can tell at a glance that the water is fully shut off.
Next monthly fixture check-in
You don’t have to do a full faucet tear-down every time you check the guest bathroom fixtures, but when you come back next month to swap out the air filter in the unit, you’ll want to pause for 5 minutes to check this sink for any new leaks. Run the sprayer for a few seconds to make sure the gasket is still seated correctly, and twist both handles back and forth a little to make sure they don’t wiggle loose on the stems. Wipe under the sink with a paper towel to check for any slow leaks from the supply lines that you might have missed tonight, since slow drips under the sink can cause mold growth on the cabinet base if they go unnoticed for months. You can also bring a small bottle of white vinegar with you next time to soak the faucet aerator if you spot any new mineral buildup around the spout tip, which will keep the water flow even and prevent clogs down the line. If you spot any drips that don’t stop after a quick adjustment, you can bring a full set of replacement o-rings and cartridges with you on your next trip to the unit, so you don’t have to make a run to the hardware store in the middle of the job. Take an extra 30 seconds to check the other bathroom and kitchen faucets in the unit while you’re there, since wear and tear tends to happen at similar rates across fixtures that get the same amount of use. You don’t need to pull any handles apart during that check unless you spot a visible drip, so the whole process will take less than 10 minutes total, even if you check every faucet in the unit.