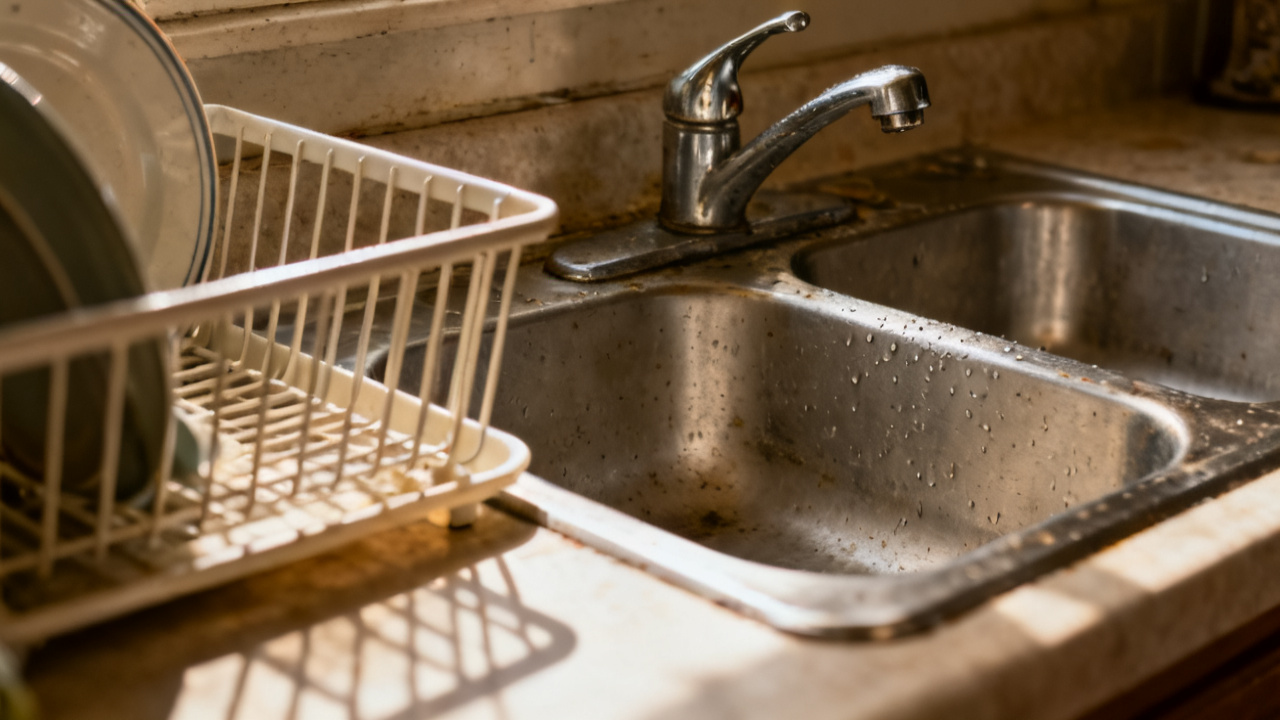
You twist it tighter. It still drips. The cool, brushed nickel of the bathroom sink handle digs into the pad of your thumb, and you huff a quiet breath so you don’t wake your roommate asleep at the far end of the apartment hallway. A single drop plinks off the edge of the Basin Lip into the half-inch of standing water below, and you glance at the battery-powered clock hung above the toilet to confirm it’s only 9:47PM, so you’ve got plenty of time to sort this before your nightly routine.
Visible wear points you can spot right now
You don’t need any special tools to spot why the handle won’t stop at the off position, no disassembly required for this first check. First, look at the gap between the base of the handle and the sink top: if it’s wider on one side than the other, that means the small retaining nut holding the valve stem in place has loosened over time, letting the stem shift when you turn the water on and off. Next, wiggle the handle gently side to side: if it moves more than a fraction of an inch without turning the water flow on or off, that’s another clear sign the nut has slipped, not that you need to replace any internal seals or buy a whole new handle. You can also check if the trim ring around the base of the handle is shifted: if the trim ring, which has the small line marked “off” etched into its left side, is rotated so the line is no longer aligned with the small notch on the bottom of the handle when it’s closed, that’s a secondary sign the retaining nut has loosened, shifting the entire stem assembly out of alignment. Most apartment sink handles are designed to shift this way after 6 to 12 months of regular use, so this isn’t a sign you’ve broken something, just that a small adjustment is needed. A lot of people assume a handle that turns past off means the internal cartridge is broken, but that’s almost never the case for this specific issue: if the only problem is the over-travel and a slow drip when the handle is twisted as tight as it will go, the loose retaining nut is the only culprit. You don’t have to shut off the water to the whole apartment for this adjustment either, since you’re not removing any of the water-carrying parts, just adjusting the hardware that holds the handle in place, so you don’t have to worry about flooding the bathroom or alerting your roommate to the small repair you’re doing. You can even run the water for two seconds then turn it off again to confirm: the handle stops a full half inch past the marked off line on the sink trim ring, right where you’ve noticed it catching for the last three days.
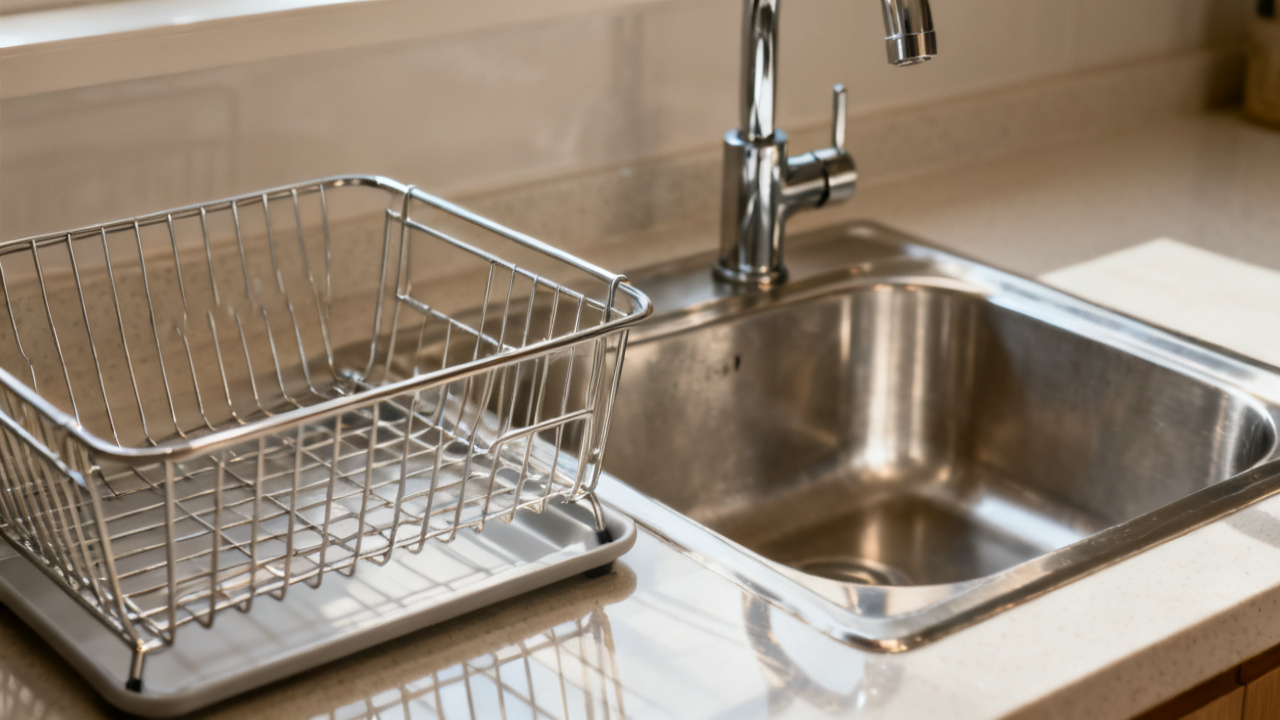
Quick adjustment to stop the over-travel and drip
The only tool you need for this fix is the flathead screwdriver you keep in the junk drawer by your front door, no plumber visit or replacement parts required. Follow these steps in order, taking your time to avoid over-tightening anything:
- Pry the small plastic cap off the top of the handle, marked with a blue and red dot for hot and cold water, using the edge of the screwdriver tip; set the cap in the palm of your other hand so you don’t drop it down the sink drain.
- Loosen the small screw sitting in the center of the handle by turning it counterclockwise two full turns, then lift the handle straight off the valve stem and set it next to the cap on the edge of the sink.
- Locate the hexagonal retaining nut sitting just below where the handle was mounted, around the base of the exposed valve stem, and fit the flat edge of the screwdriver into one of the notches cut into the top of the nut.
- Turn the nut clockwise in tiny, incremental adjustments, testing the handle fit after each adjustment by sliding it back onto the stem and twisting it to the off position, until the handle stops exactly at the marked off line and no longer drips when fully twisted closed.
- Tighten the center screw back into the valve stem, snap the plastic cap back into place on top of the handle, and wipe any smudged water or dust off the sink top with the edge of your hand towel.
Illustrative example: Tightening the retaining nut just 1/12 of a turn is enough to stop over-travel and dripping for most standard apartment faucet setups, so you never need to turn it more than a half turn total to get the fit right. If you turn the nut too tight, you’ll notice the handle is hard to turn between hot and cold, so just loosen it a tiny bit until the handle swivels smoothly but still stops at the off line. You don’t need to use any pliers for this, since the flathead screwdriver gives you enough torque to tighten the nut enough to hold it in place for weeks at a time. Using pliers would risk over-tightening, which can strip the threads on the nut or the valve stem, leading to a bigger issue that would require a maintenance call, so stick to the screwdriver you already have on hand. You might need to repeat this adjustment every few months depending on how often you use the sink, as regular wear will loosen the nut again over time.
Next scheduled check for handle alignment
When you walk away from the sink tonight, the handle will click to a firm stop at the off position, no drips, no extra twist needed, and you won’t have to think about it again until your pre-planned check in six weeks. You can add a reminder to the notes app on your phone for 8PM on a Sunday six weeks from now, when you’re already doing your weekly apartment small tasks like swapping out air filters and wiping down the fridge shelves, so it doesn’t slip your mind. When you set that reminder, you can tie it to another routine task you already do regularly, so it doesn’t feel like an extra chore. For example, if you already wipe down your bathroom surfaces every Sunday evening, add the handle check to that list, so it’s just one more 30-second task you knock out while you’re already in the room. When that date rolls around, you’ll only need 30 seconds to test the handle: twist it to off, check for drips, wiggle it side to side to see if there’s any excess play, and run the tap for a few seconds to confirm the water flow cuts off completely the second the handle hits the off mark. You don’t need to do any disassembly at that check unless you notice the over-travel is back; if the handle still stops firmly at off and there are no drips, you can just mark the check as done and move on with your night. If you notice any over-travel or dripping at that check, you can run through the same adjustment steps again in under two minutes, no new tools or supplies needed. It’s easy to ignore small faucet issues like this, but a slow drip can waste up to 30 gallons of water a month, which adds up to extra costs on your utility bill even if you split it with your roommate, so this small check is a low-effort way to avoid that extra expense without any extra work. You don’t need to call maintenance for this issue unless the retaining nut is stripped or the valve stem is cracked, which is extremely rare for standard apartment sink setups, so this small, regular check will keep your faucet working as expected for as long as you live in the unit.