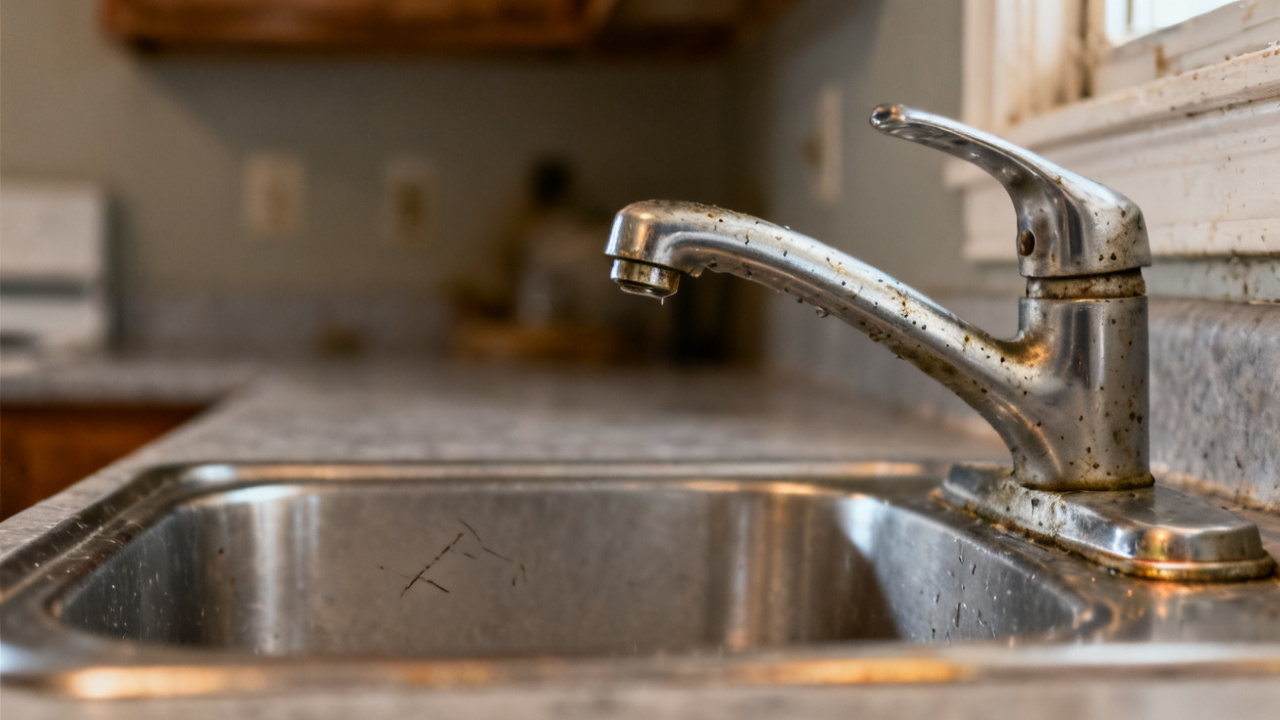
The spout is dry. The deck around the faucet is wet. You set the cleaning caddy you were carrying to rest against the hallway wall, kneel down to get a closer look at the small pooled water spreading toward the edge of the counter. You don’t see any drips falling from above, so you know the issue is coming from somewhere under the fixture itself, not a loose spout connection. You grab a paper towel from your caddy to blot up the existing water so you can track exactly where new moisture appears first.
Loose supply line nuts
You reach under the sink, pushing aside a stack of cleaning supplies and a half-empty bottle of dish soap to access the two flexible braided supply lines running from the wall-mounted shutoff valves to the inlet ports on the bottom of the faucet. These nuts are only hand-tightened during most standard installations, so they can wiggle loose over time from the regular vibration of water running through the lines, or if the supply lines are bumped when someone reaches for items stored under the sink. Before you touch any of the connections, turn both the hot and cold water shutoff valves clockwise until they stop completely to cut off water flow to the faucet, and unplug any under-sink electrical devices like garbage disposals or plug-in water filters to eliminate any risk of electric shock. You can use a standard adjustable wrench to give each connection nut a quarter turn clockwise to seat it firmly against the faucet inlet, being careful not to over-tighten the nut, which can strip the plastic threads on the faucet inlet or crack the nut itself. Once you’ve adjusted both nuts, turn the shutoff valves back on counterclockwise, run the faucet on both hot and cold for 30 seconds, then turn it off and check the base for any new signs of moisture.
Worn cartridge seal
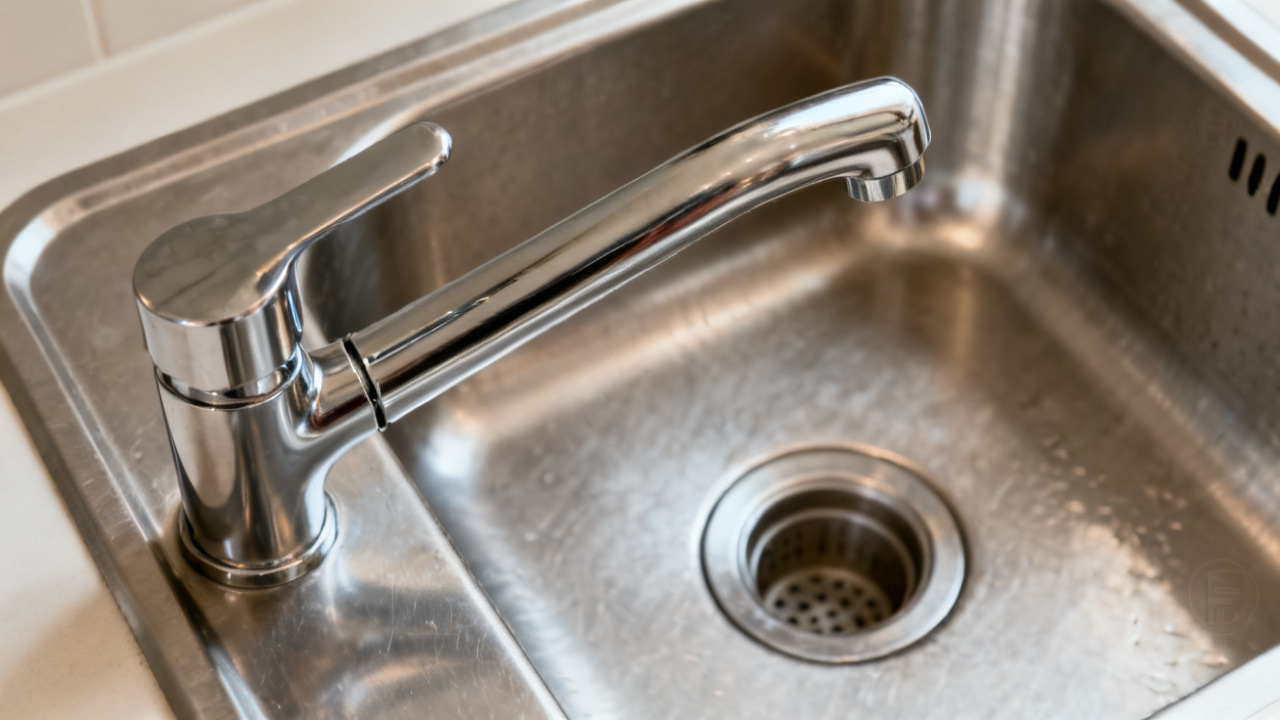
The cartridge is the internal plastic or brass component inside the faucet body that controls the flow and temperature mix of water when you lift or turn the faucet handle. The rubber O-ring seal around the base of the cartridge creates a watertight barrier that keeps pressurized water inside the faucet body, but this seal can wear down, crack, or warp over months of regular exposure to hot water and mineral deposits from hard tap water. When this seal fails, small amounts of water seep out around the edge of the cartridge, drip down through the hollow center of the faucet body, and pool on the counter deck around the base of the fixture. To check the condition of the seal, shut off the water supply as you did before, then use a small flathead screwdriver to pry off the small decorative cap on the top of the faucet handle, remove the Phillips head screw holding the handle in place, and lift the handle straight up and off the faucet stem. You can then use a pair of pliers wrapped in a soft cloth to avoid scratching the finish to pull the cartridge straight out of the faucet body, and run your finger along the rubber seal at the base to feel for cracks, tears, or sticky mineral buildup. If you see visible damage to the seal, you can set the cartridge aside to replace it later with a matching model designed for your specific faucet brand, and replace the handle and cap temporarily until you have the right part on hand.
Misaligned mounting gasket
The mounting gasket is a thin, flexible ring made of rubber or closed-cell foam that sits between the base of the faucet and the surface of the countertop, creating a watertight seal that blocks both splashed water from the sink and internal faucet leaks from seeping out onto the deck. If the faucet is knocked or shifted during heavy cleaning, or if the mounting nuts under the sink loosen over time, the gasket can slide out of its intended position, breaking that watertight seal and allowing water to leak out around the base of the fixture. The table below outlines common gasket issues and simple temporary fixes you can use today if you don’t have a replacement gasket on hand:
| Gasket condition | Common cause | Recommended quick fix |
|---|---|---|
| Slightly shifted out of position | Faucet knocked while wiping down the countertop | Loosen the two mounting nuts under the sink by half a turn each, adjust the faucet to sit perfectly level and centered on its mounting hole, then retighten the mounting nuts until the faucet doesn’t shift when you wiggle it gently |
| Compressed on one side | Faucet over-tightened during the last installation or repair | Remove the mounting nuts entirely, lift the faucet a half inch off the counter, pull out the old gasket and flip it over to use the less compressed side, then reseat the faucet and retighten the mounting nuts |
| Torn along 10% or less of its outer edge | Accidentally nicked with a screwdriver or utility knife during a past plumbing repair | Line the torn edge of the gasket with a thin, even layer of food-safe plumber’s putty before reseating the gasket between the faucet and countertop, wiping away any excess putty that squeezes out when you tighten the mounting nuts |
Illustrative example: A 2mm tear along the outer edge of a standard 4-inch mounting gasket can be sealed temporarily with plumber’s putty for several weeks while you wait for a matching replacement gasket to ship from the manufacturer. You don’t need to replace the entire faucet to address a minor gasket misalignment or small tear, as long as you monitor the area for new leaking regularly.
Cracked faucet base plate
The base plate is the flat, wide metal or plastic piece that sits under the main body of the faucet, covering extra pre-drilled mounting holes in the countertop if you have a single-hole faucet installed in a three-hole sink deck. These base plates can develop small, hard-to-see cracks over time from accidental impact, like if a heavy glass or pan falls against the base of the faucet, or from repeated thermal expansion and contraction as hot water runs through the faucet. Even a tiny hairline crack in the base plate can allow water from inside the faucet to seep through and pool on the counter around the base, even if all internal faucet parts are fully functional. Run your finger along the entire top and bottom edge of the base plate to feel for small cracks or gaps that you might not spot with a visual check at first glance. If you find a crack, you can apply a thin bead of food-safe silicone caulk along the full length of the crack to seal it temporarily, wiping away any excess caulk immediately with a damp paper towel so it doesn’t dry and leave a residue on the countertop finish. This type of crack is especially common on faucets installed at Basin Lip, where temperature fluctuations from frequent high-volume hot water use can speed up wear on lower-cost plastic base plates.
Scheduled 30-day check-in
You will return to this faucet in 30 days to conduct a full inspection of all its components, even if the temporary fix you implement today seems to stop all leaking at the base entirely. You will bring a matching replacement cartridge, a new foam mounting gasket, and a spare metal base plate designed for this specific faucet model so you can complete any needed permanent repairs during that visit, without needing to schedule a follow-up appointment. During that check-in, you will also test the water pressure from the spout, inspect the supply lines for signs of bulging or fraying, and check the functionality of the under-sink shutoff valves to make sure no other plumbing issues have developed in the time between your visits. You will leave a small, brightly colored sticky note on the inside of the under-sink cabinet door to let the tenant know the date of your upcoming visit, so they can notify you if they notice any new leaking, reduced water pressure, or other issues with the faucet before you arrive. You will also bring a small absorbent microfiber mat to leave under the faucet after your check-in, to catch any small unexpected drips and protect the countertop finish from water damage between regular inspections. You will spend no more than 15 minutes on that check-in, and you will coordinate with the tenant ahead of time to make sure you arrive at a time that is convenient for them, so you don’t disrupt their daily routine.