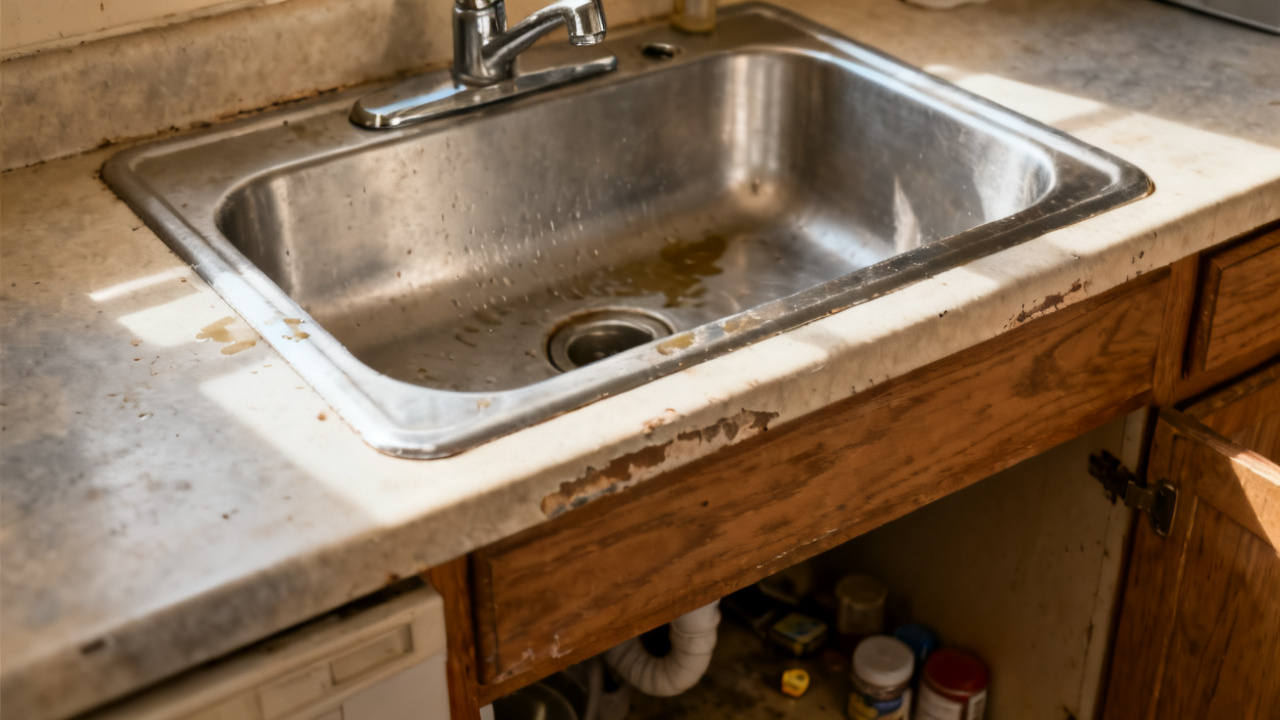
You look under the sink. The hose bends sharp. You were wiping down the kitchen counter ten minutes ago when the sink sprayer sputtered instead of shooting a steady stream, so you tracked the issue back here, your phone flashlight propped on the cabinet edge to cut through the dim under-sink gloom. Your reusable dish soap jug is pushed a little too far back against the plumbing, and you can see it pressed directly into the curve of the hose that’s causing the blockage.
Kinked Sprayer Hose Alignment Check
You kneel a little lower to get a full view of the hose’s entire length, so you don’t miss any secondary kinks tucked behind the hot and cold water supply lines that you might have missed from your initial standing glance. You run one finger along the matte black rubber hose from the base of the sprayer head down to the threaded connection at the faucet base, confirming the sharp bend you spotted is the only obstruction, no small tears, frayed edges, or stiff worn spots along the surface that would call for a full replacement rather than a quick adjustment. You note that the kink sits right where the hose rubs against the side of your stack of biodegradable spare dish sponges, which you shoved into the back of the cabinet two days ago when you were tidying up before guests arrived, so you know the fix will require adjusting both the hose and the stored items around it to prevent the issue from coming back next week when you restock your cleaning supplies. You also check the connection points at both ends of the hose to make sure they are tight, with no small leaks that might have formed from the pressure of the kink pushing against the seal.
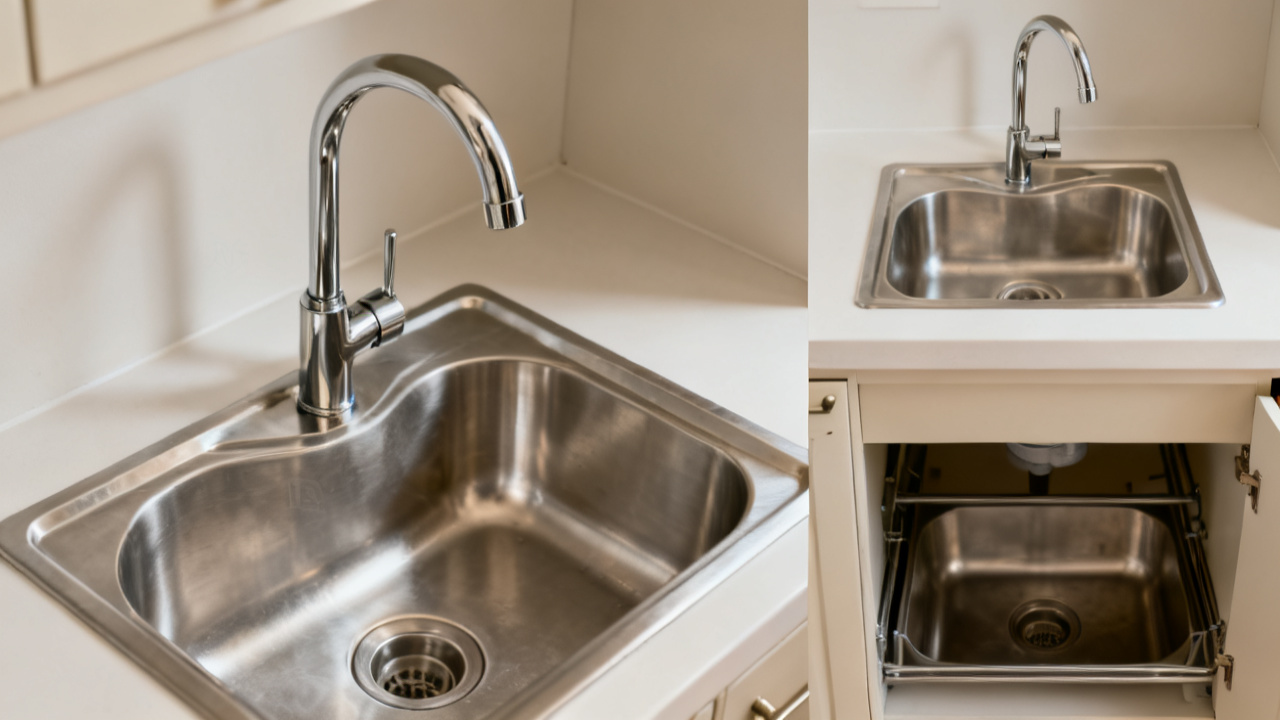
Flexible Hose Kink Release
You pull the under-sink storage caddy all the way out to give yourself unobstructed access to the hose, then follow these steps to release the kink without stretching or damaging the rubber material:
- Grasp the sprayer head from its seat above the sink and pull it up a foot to give the hose as much slack as possible, so you don’t tug too hard on the connection points when you work the kink out.
- Hold the hose 1 inch on either side of the sharp bend, using gentle, steady pressure to work the folded rubber back into a smooth, rounded curve, stopping immediately if you feel any cracking or stiff resistance that signals the material is worn too thin to adjust.
- Run water through the sprayer for 10 seconds to confirm the stream is steady and unobstructed, with no sputtering or pressure drops that would indicate there is still a remaining kink further along the hose.
- Adjust the position of any under-sink items that pressed into the hose, tucking dish soap bottles, sponge stacks, and scrub brushes into the far edges of the cabinet so they do not rest against any part of the hose’s path when the sprayer is stowed.
- Test the sprayer’s full range of motion by pulling it all the way out over the sink to make sure the hose travels freely without catching on any cabinet edges or stored items as it moves.
Illustrative example: 3 inches of unobstructed slack between the hose’s anchor point on the faucet base and the first contact point with any under-sink item gives enough room for the hose to move without folding or kinking during regular use. You don’t guarantee this adjustment will prevent future kinks entirely, since regular use can shift stored items and move the hose out of alignment over time, but it will resolve the current pressure issue for the immediate future.
Stowed Sprayer Hose Placement
Once you finish releasing the kink and testing the sprayer, you push the storage caddy back into the cabinet, making sure none of its contents press against the hose when it sits in its resting position. You double check that the hose lays in a loose, wide U-shape under the sink, no sharp bends or folds anywhere along its length when the sprayer is fully seated in its holder. You tuck a small, folded microfiber cloth under the lowest part of the hose’s U-shape if you notice it tends to drag against the slightly rough under-sink cabinet floor, to reduce wear on the rubber over time. You don’t tape or secure the hose in place, since that would restrict its movement when you pull the sprayer out to rinse large pots or clean the sink basin, and could create new kinks when you tug it free from the secured position. You give the sprayer one more quick spritz to confirm the pressure remains steady, then wipe any residual water off the under-sink cabinet floor to prevent mildew from building up near the supply lines. When you set the sprayer back on the basin lip, you make sure it sits fully nested in its holder so it does not hang off the edge and tug the hose upward into a new kink overnight.
Monthly Hose Inspection Reminder
You mark your calendar to check the hose again in 30 days, when you do your regular deep clean of the kitchen sink and under-sink cabinet. During that check, you will run your finger along the full length of the hose to look for new kinks, worn spots, or cracks that might have developed from regular use, and adjust the position of under-sink storage items again if they have shifted to press against the hose. You will also test the sprayer pressure at that time to catch any new obstructions early, before they turn into larger issues that require a full hose replacement. If you notice the kink returns before that 30-day mark, you can adjust the hose placement earlier, no need to wait for the scheduled check to address the issue. You will also use that monthly check to wipe down the hose itself to remove any built-up dust or food residue that might have fallen from the sink edge into the cabinet, to keep the material flexible and reduce the risk of cracking over time. If you spot consistent kinking in the same spot three inspections in a row, you can research replacement hoses that fit your faucet model, to swap out the worn part before it develops a leak.