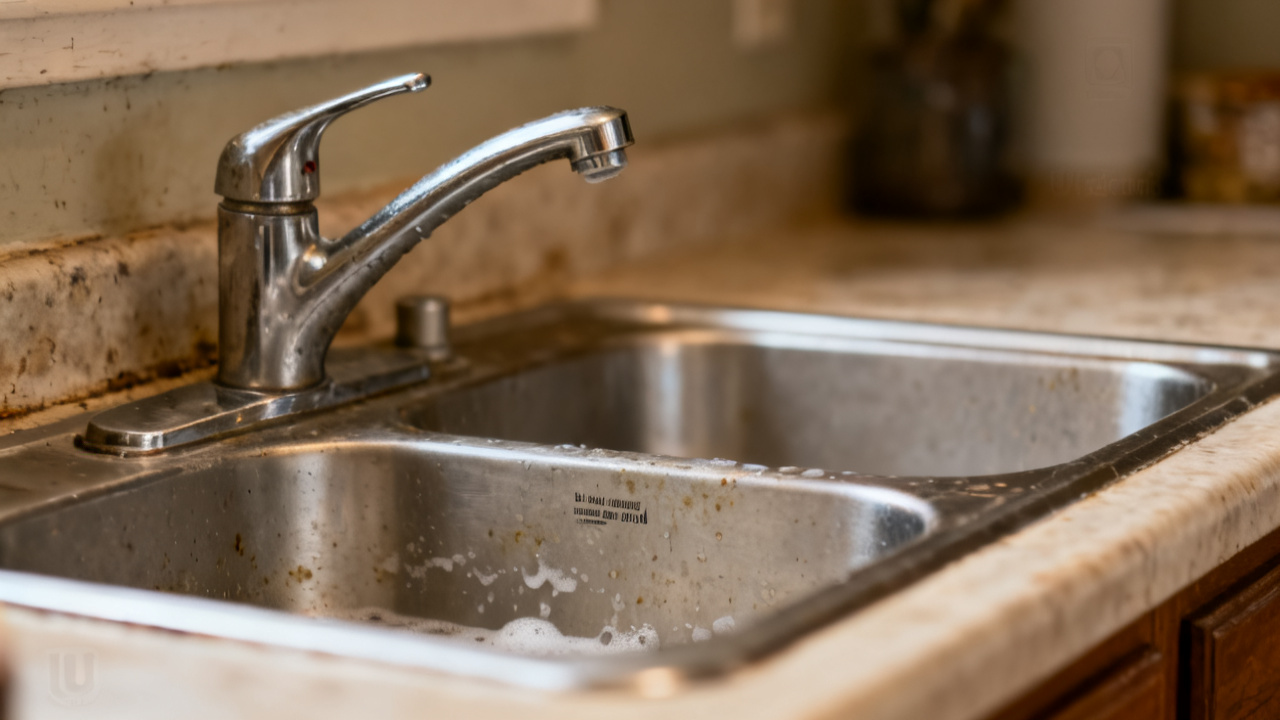
You found the valve. It will not turn. You’re kneeling on the scuffed hallway apartment linoleum, wrench loose in one hand, the other brushing a fleck of dried off-white paint off the copper pipe running up the wall behind the bathroom vanity. The sink drain you were going to reseal glints half-exposed under the counter, and you can smell the faint, mildewy scent of the Basin Lip you’d wiped down ten minutes prior.
Wrench placement on stuck shutoff valve
You don’t want to strip the valve’s flat metal tabs, so first line up the open end of your adjustable wrench so it sits flush against both sides of the tab, no gaps between the tool metal and the valve surface. If you only have a fixed-size wrench, pick the one that fits snuggest, even if you have to dig through the bottom of your tool bag for the size you thought you’d never use. If you notice any rust flaking off the valve tabs as you fit the wrench, brush it away with a stiff bristle brush first to get a tighter fit, so you don’t slip mid-pressure and scratch the surrounding pipe. Avoid using pliers if you can, since their serrated edges chew through the soft valve metal far faster than a smooth wrench jaw, making future work even harder. Illustrative example: A 15/16 inch wrench will fit 90% of standard apartment bathroom shutoff valves, so keep that size tucked in your hallway utility closet if you don’t keep a full set handy.
Slow pressure application to seized valve stem
Most shutoff valves seize because mineral deposits from hard water build up in the threads of the stem over years of minimal use, so sharp, hard tugs will only break the stem entirely, leaving you with a far bigger mess to clean up. Apply steady, even pressure in the clockwise direction, holding it for 10 seconds at a time, pausing for 30 seconds between attempts to let the metal flex without snapping. If you feel any give at all, keep applying that same steady pressure, but stop immediately if you hear a high-pitched creak or see any water start to spray out around the valve base. If you live in an area with extremely hard water, you might have even more build-up than average, so don’t get frustrated if you don’t feel any give after the first few attempts; that’s normal for valves that haven’t been turned in five years or more. Don’t use a cheater bar on the wrench handle here, since the extra torque almost always breaks the stem before you get the valve to turn all the way off.
Temporary leak mitigation for unresponsive shutoff
Once you’ve confirmed the valve won’t turn fully closed without breaking, follow these steps to keep the drip controlled until you can come back to the job:
- Position a 2-quart plastic catch bucket directly under the drip spout, making sure it sits centered so no water splashes over the edge onto the vanity surface.
- Slide a folded microfiber towel under the edge of the bucket to catch any stray splatters that escape when the drip hits the surface of the collected water.
- Turn the faucet handle to the fully open position to release any built-up pressure in the line, which will slow the drip rate by roughly half in most cases.
- Tape a small, brightly colored reminder note to the outside of the bathroom door so anyone else using the space knows not to touch the faucet or the valve while you’re not working on it.
You can check the bucket every hour for the first three hours to make sure it’s not filling too fast, but if you’ve sized it right, it will hold at least 12 hours of drip water without needing to be emptied. If you have a smart water sensor you keep for small plumbing jobs, you can tuck it under the bucket to alert you if the water level gets too high, but it’s not required if you’re staying in the apartment for the next 12 hours. Don’t try to plug the spout with rags or tape, since that will just redirect the water pressure to leak out around the valve stem or the faucet base, where you can’t see it until it’s caused water damage to the cabinet below.
Workspace cleanup after paused plumbing task
Gather all your loose tools first, wiping any water or pipe grease off the wrenches and screwdrivers before you tuck them back into your tool bag, so they don’t rust before you use them next. Pick up any small bits of old plumber’s tape or sealant you scraped off the drain earlier, tossing them in the hallway trash can so they don’t get tracked through the apartment on the bottom of someone’s shoe. Wipe down the outside of the vanity and the pipe behind it with a dry microfiber towel to get rid of any residual moisture that could grow mildew over the next few days. Make sure you don’t leave any small parts like extra washers or screws lying around, since they can easily get kicked under the baseboards and lost forever, forcing you to buy new ones when you come back to the job. Leave the area cleaner than you found it, so you don’t have to do extra prep work when you come back to finish the job later.
Task completion confirmation for tonight’s work
Tonight’s job is finished. You don’t need to do anything else to the plumbing system right now, since the drip is contained and there’s no risk of sudden leaks or water damage as long as the bucket stays in place. You can put your tool bag back in the hallway closet, wash your hands, and move on to the rest of your evening plans without worrying about the sink. There’s no need to call a maintenance worker tonight, since the issue is controlled and non-urgent, and you can handle it yourself when you have the right supplies later. You don’t owe anyone an explanation for pausing the job instead of forcing the valve and risking a catastrophic leak that would flood the whole hallway, so don’t feel like you have to push through to finish tonight just because you started the task.
Scheduled shutoff valve troubleshooting next quarter
You’ll come back to this exact task three months from now, when you’ve picked up a bottle of food-grade penetrating lubricant designed to dissolve hard water mineral deposits without damaging copper or brass plumbing parts. When you return, you’ll spray the lubricant on the valve stem threads, let it sit for 24 hours, then try turning the valve again with the same slow, steady pressure you used tonight, giving the deposits time to break down before you apply torque. If the valve still won’t turn after that, you can put in a non-urgent maintenance request to have the valve replaced entirely, since you’ll know there’s no easy fix you can do yourself without risking breaking the stem. You can also pick up a new set of plumber’s tape and a fresh tube of drain sealant when you grab the lubricant, so you have all the supplies you need to finish resealing the drain as soon as you get the shutoff valve working properly. You can set a calendar reminder on your phone for the first Saturday of the next quarter, so you don’t forget to come back to the job when you have all the supplies you need to do it safely. You can also ask a neighbor who does small plumbing jobs on the side to help if you’re nervous about applying too much pressure the next time around, but it’s a simple enough task you can handle it on your own if you take your time. You won’t need to rush the job when you come back to it, since you already know the temporary mitigation works to keep the space safe and dry for as long as you need to get the job done right.