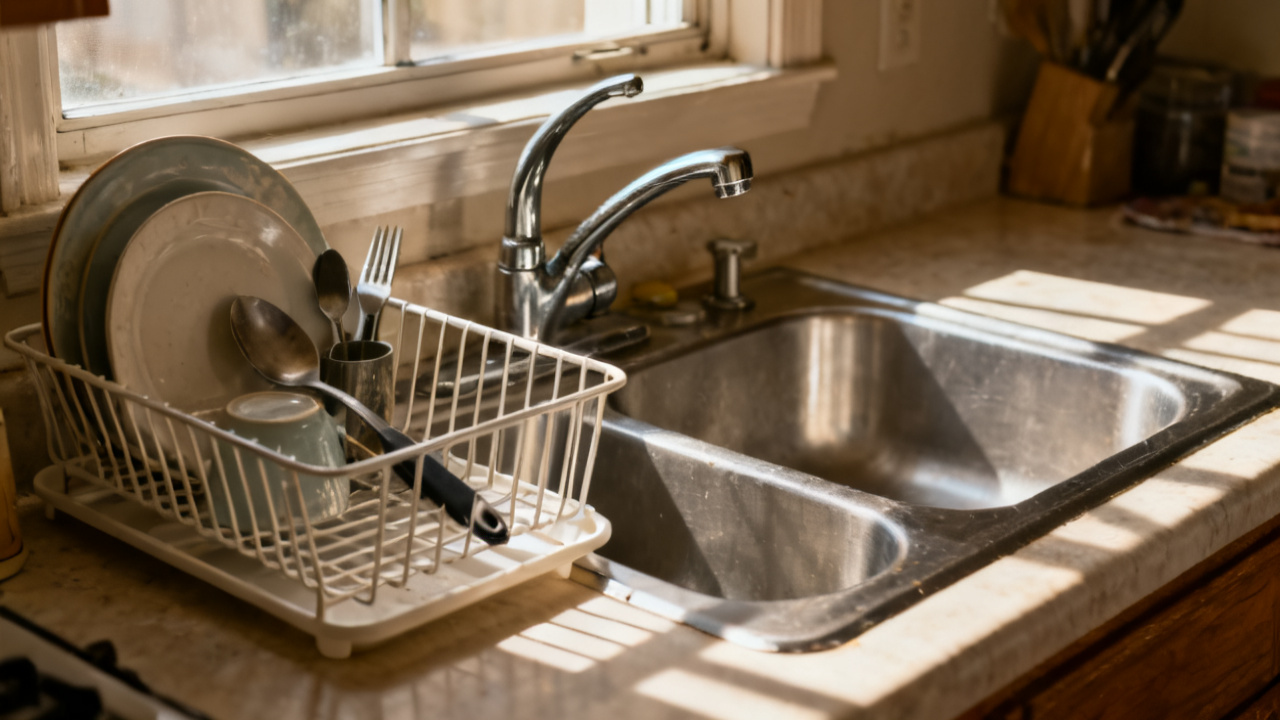
You tried both. Only the cold side ticks. You’re leaning against the hallway bathroom’s tile wall, rubber washer kit clutched in one hand, the only thing you grabbed from the building maintenance supply nook on your way up. You don’t have to knock first, the tenant already texted they’re working late and left the door propped open for this quick fix, and you can see the drip from the doorway, slow enough that it hasn’t pooled yet but steady enough to leave a faint mineral ring right at Basin Lip. You don’t need to bring any fancy tools for this job, just the washer kit and the two screwdrivers you already have on your belt, so you didn’t waste time running back to your ground floor workroom before heading up.
Inspect the cold tap’s internal rubber washer
You shut off the cold water supply under the sink first, twisting the small metal valve clockwise until it stops, then twist the cold tap all the way on to drain any remaining water left in the line before you start prying off the handle cap. You pop the small plastic cap off the top of the cold tap with the flat edge of your putty knife, revealing the brass screw holding the handle in place, and loosen it with a standard Phillips head screwdriver you keep in your utility belt. You pull the handle straight off, then twist the stem assembly counterclockwise to pull it free, and flip it over to look at the rubber washer fitted into the bottom of the stem. You see the small tear along the edge of the washer immediately, as well as the faint indent from years of pressing against the valve seat, exactly the issue you expected when you got the maintenance request this morning. You also run your finger along the valve seat inside the tap body to check for any scratches or mineral buildup that could cause a leak even with a new washer, and it feels completely smooth, so you don’t need to do any extra work to resurface it before installing the new washer.
Replace the worn rubber washer
You work through the process methodically, taking your time to avoid small mistakes that could lead to the drip returning prematurely:
- Pry the old, torn rubber washer out of the groove at the bottom of the stem using the small flathead screwdriver included in your washer kit, taking care not to scratch the surrounding brass that seals against the valve seat.
- Wipe the groove clean of any built-up mineral deposits or old plumber’s grease with a clean rag you keep in your back pocket, running the edge of the rag along the sides of the groove to dislodge any caked-on residue that could prevent a tight seal.
- Select the correct size of replacement rubber washer from your kit, matching the diameter exactly to the old washer you just removed. Illustrative example: 2.2 mm thick washers are the most common for this building’s 1990s fixture line, so that’s the first one you pull from the kit, and it fits perfectly into the empty groove with no overhang or gaps around the edge.
- Apply a thin layer of food-safe plumber’s grease to the top and sides of the new rubber washer, as well as to the threads of the stem assembly, to make twisting it back into place smoother and reduce wear over time.
- Push the new washer firmly into the groove until it sits completely flush, with no edges sticking up or shifting around when you nudge it with your fingertip.
You don’t overtighten anything at this stage, since too much pressure can warp the new washer and cause it to fail faster than it would otherwise, and you double check that no lint from your rag is stuck to the washer before you move to reassemble the tap. You know that even a tiny piece of grit caught between the new washer and the valve seat can cause a drip to start again within a few days, so you take an extra 10 seconds to blow lightly into the tap body to dislodge any loose mineral particles that might have fallen in while you had the stem out.
Set the washer-fitted tap assembly in place
You twist the stem assembly back into the tap body clockwise until it’s snug, then fit the handle back onto the exposed end of the stem, line up the screw hole, and tighten the brass screw back into place until the handle doesn’t wobble when you wiggle it side to side. You pop the plastic cap back onto the top of the handle, then turn the cold water supply valve under the sink back on, twisting it counterclockwise all the way, then turn the cold tap on and off a few times to test the flow and the seal. You stand there for two full minutes watching the spout, and no drips appear when the tap is fully closed, so you wipe down the handle and the sink area to remove any smudges from your tools, and set a small, pre-printed maintenance slip on the edge of the sink that says you fixed the cold tap drip, with today’s date scrawled at the bottom. You also wipe up the small puddle that formed under the sink when you drained the line earlier, so the tenant doesn’t come home to a mess under their cleaning supplies, and you tuck the maintenance slip under the edge of their soap dispenser so it doesn’t blow away or get knocked onto the floor before they get home. You double check that the hot tap still works as it should, running it for 10 seconds to confirm the flow is consistent and there’s no dripping from that side either, then make sure the front door is latched securely behind you when you leave the unit.
Schedule your rubber washer follow-up check for three weeks from today
You pull out your work phone as soon as you’re back in the hallway, and add a reminder to your calendar to stop back by this unit on the same date three weeks from now, to check that the cold tap is still not dripping and the new washer is holding up as expected. You’ve found that most washer failures happen within the first two weeks of installation if there’s an issue with the fit or debris in the line, so three weeks gives you enough time to catch any problems before they turn into a larger leak that could damage the cabinet under the sink or the tile flooring. You don’t need the tenant to be home for this check, since you have a master key for all units in the building, and you plan to only take two minutes to test the tap, wipe down the area if needed, and leave if everything is working correctly. You note the unit number in the reminder, along with the size of the washer you used today, so you can bring an extra one of the same size with you just in case you need to make a quick adjustment during the follow-up visit. You also add a note to your supply list to restock your washer kit with more of the 2.2 mm thick washers before the end of the week, since you only have two left after using one today, and they’re the most commonly used size for the taps across all 24 units in the building. You also make a mental note to check the other two bathrooms on this floor when you come back for the follow-up, since they have the same model of taps as this unit, and you’ve had three other requests for cold tap drips on this floor in the last six months. You tap “save” on the reminder, slip your phone back into your pocket, and head down the hall to your next quick job for the evening, the tap drip already crossed off your to-do list for the night.