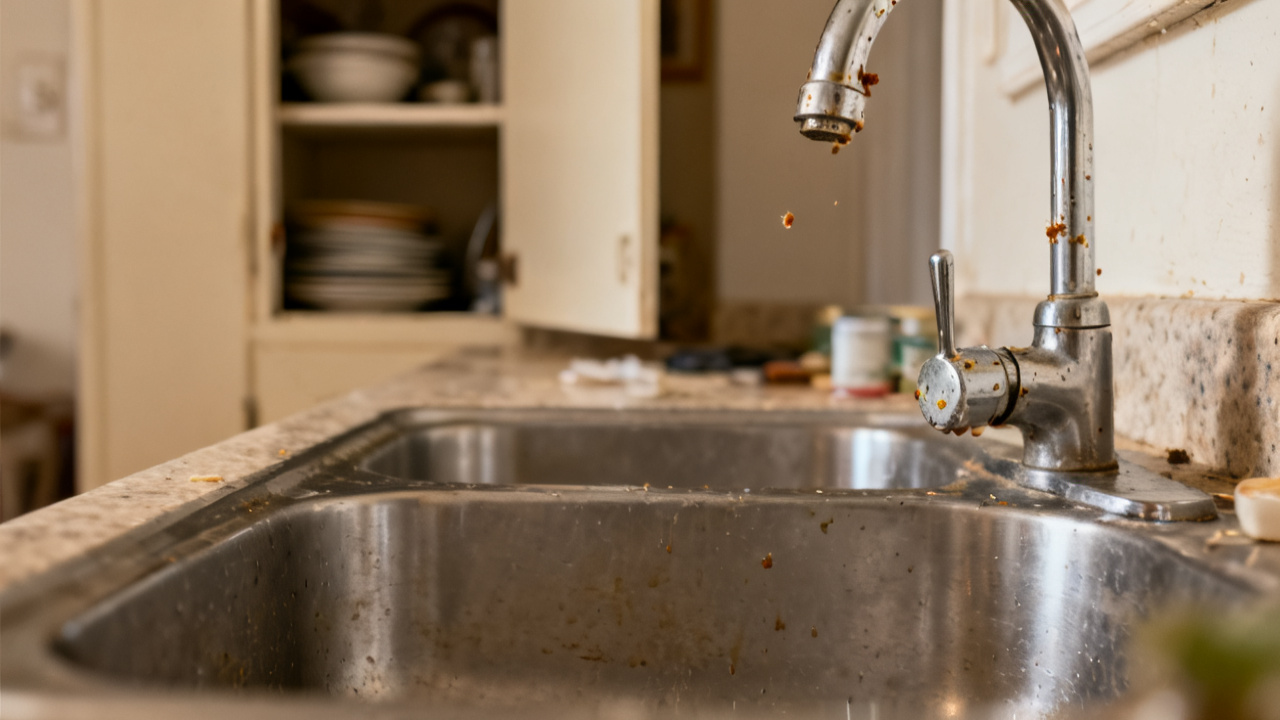
Your hand is still on the handle. The metal is already hard to turn. You can feel the faint give of the rubber seal inside the assembly if you press your thumb to the base where it meets the sink fixture. The hallway night light bleeds soft gold around the edges of the bathroom door behind you, and you can hear your neighbor’s TV hum through the shared wall, playing some old 90s sitcom you recognize by the laugh track. You don’t push harder, you just lift your hand away for a second, because you already know what happens if you crank it too far: you’ll warp the seal, create a slow drip that will keep you up all night, and have to disassemble the whole fixture on your day off tomorrow when you’d rather be on the couch.
What is wrong with the metal faucet handle
The issue isn’t that the handle is loose enough to drip right now, it’s that you’ve been tightening it a tiny bit more every night after washing your face, building up unnecessary pressure on the internal gasket over the past three weeks. The rubber inside is designed to compress just enough to form a watertight seal when the handle is turned 1/4 of a rotation from the fully open position, and any extra force just crushes the thin outer edges of the seal, creating tiny, uneven gaps that will leak later even if you crank the handle as far as it will go. You can see the faint, crusty discoloration of dried water spots around the base of the handle right now, proof that the over-tightening has already started to warp the seal enough to let small drops seep out when you apply too much pressure. This isn’t a big, complicated repair, just a small habit correction you can make tonight to avoid more work later.
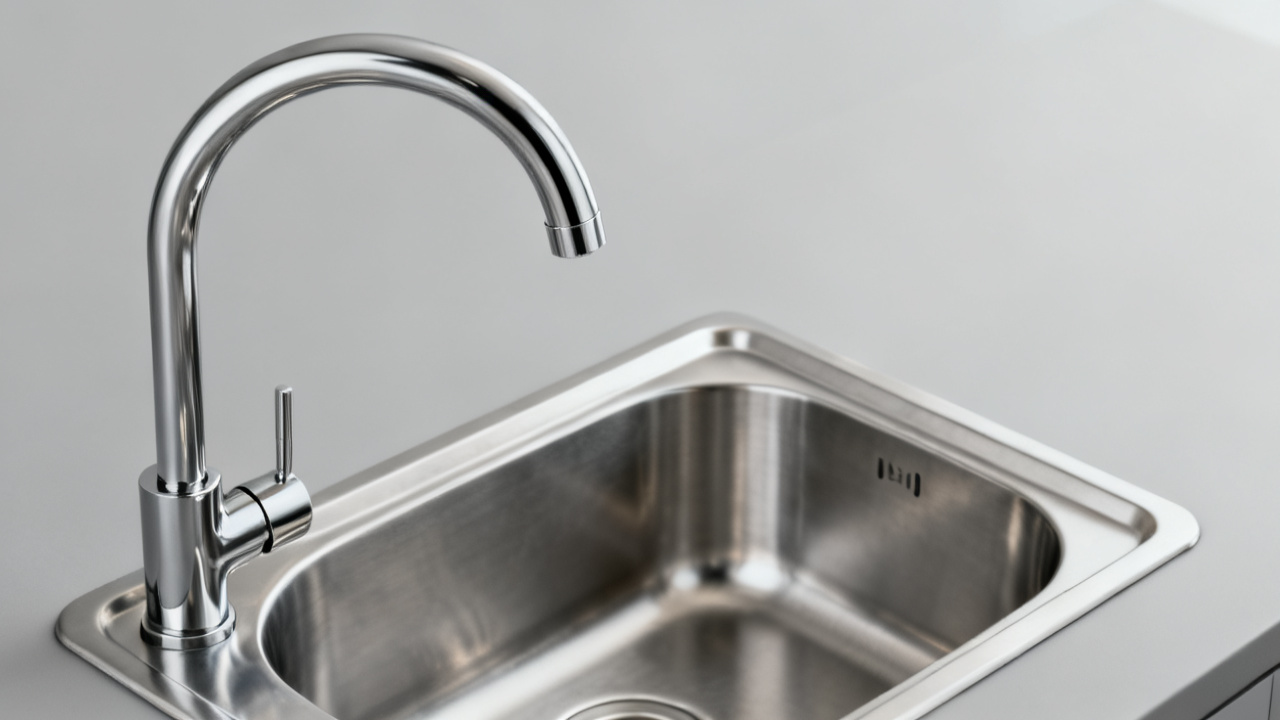
Parts of the handle assembly you leave untouched
You don’t need to unscrew the small hex screw holding the decorative handle cap on tonight, no matter how much you want to take the whole thing apart to inspect every piece for wear. You don’t mess with the water supply line under the sink either, since that connection is already sealed properly and you don’t want to risk stripping the soft plastic nut holding it to the fixture, which would require a full replacement you don’t have time for right now. You also don’t touch the hot water handle at all, since it turns smoothly and doesn’t have the same slight, gritty resistance you feel on the cold side every time you turn it off. No extra disassembly or tinkering is needed here, just focus on the small, low-effort adjustment you can make right now without taking any parts apart.
Ten-minute adjustment you make right now
This process takes less time than heating up a frozen burrito in the microwave, and requires only the paper towel you already have tucked in your sweatpants pocket:
- Turn the handle counterclockwise half a rotation to fully open the cold water line, letting it run for 10 seconds to flush any small sediment particles that might be caught under the seal and contributing to the gritty feeling when you turn it.
- Turn the handle clockwise slowly until you feel the first bit of firm resistance, then stop immediately, no extra quarter turns, no extra pressure with your palm, just hold it there for two seconds to let the gasket seat evenly across the entire opening.
- Wipe the base of the handle with the paper towel to remove any residual water that might have pooled around the seal when you opened the line, and brush a stray drop of water off the Basin Lip once as you clean up the surrounding area.
- Test the handle by turning it on and off twice more, stopping at that first point of resistance every time you turn it off, to confirm the water cuts off completely without any extra force needed.
- Brush any stray crumbs or shed hair that have collected around the base of the fixture into the sink to keep the area clear of debris that could work its way into the handle assembly and cause extra wear over time.
Illustrative example: 12 inch-pounds of pressure is all you need to seat the seal without warping the rubber, which is roughly the amount of force you use to press a standard doorbell, not the amount you use to twist open a stubborn pickle jar. You don’t need a torque wrench to measure this, just pay attention to the first point of resistance and stop there.
Where loose handle gaskets get disposed
When the gasket does eventually wear out in a few months, you won’t throw it in the regular trash if you can avoid it. Most local hardware stores have a small, clearly marked bin near the plumbing section for accepting small rubber plumbing parts for recycling, so you can drop it off the next time you pick up replacement light bulbs or drain cleaner for the apartment. If there’s no recycling option near you, you can wrap it in a small piece of scrap paper before tossing it in the trash to keep it from sticking to other wet waste in the bag as it breaks down. You don’t need to save old gaskets for random craft projects or future repairs, since they cost less than a dollar to replace and degrade over time even when they’re not in use, so a stored old gasket won’t work as well as a new one if you need a replacement later.
Distractions you tune out while you work
You don’t answer the text that pops up on your phone screen when you pull it out to check the time mid-adjustment, since it’s just your roommate asking if you picked up oat milk on the way home from work, and you can reply once you’re done with this task. You don’t stop to listen to the argument your neighbors are having through the shared wall, even if you can make out bits of the conversation about a missing Amazon package that was left in the hallway this afternoon. You also don’t get up to grab a bag of chips from the kitchen mid-adjustment, since the whole thing only takes 10 minutes and you can eat once you’re finished. Staying focused right now keeps you from falling back into the habit of over-tightening the handle out of muscle memory when you’re not paying attention to how much force you’re using.
Next monthly handle tightness check
You set a reminder on your phone for 30 days from now to come back and check the handle tightness again, right before you do your regular monthly bathroom deep clean. When that day comes, you’ll run through the same quick adjustment steps, making sure you don’t apply extra force when you turn the handle off, and check for any new, darker water spots around the base that might signal the gasket is starting to wear out faster than expected. If you notice the handle feels looser than it does right now, or that you have to turn it further to get the water to cut off completely, you can pick up a replacement gasket the next time you’re at the hardware store, no emergency middle-of-the-night trip needed. You don’t need to check it more often than once a month, since over-adjusting the seal will cause more wear over time than leaving it alone for a few weeks between checks.