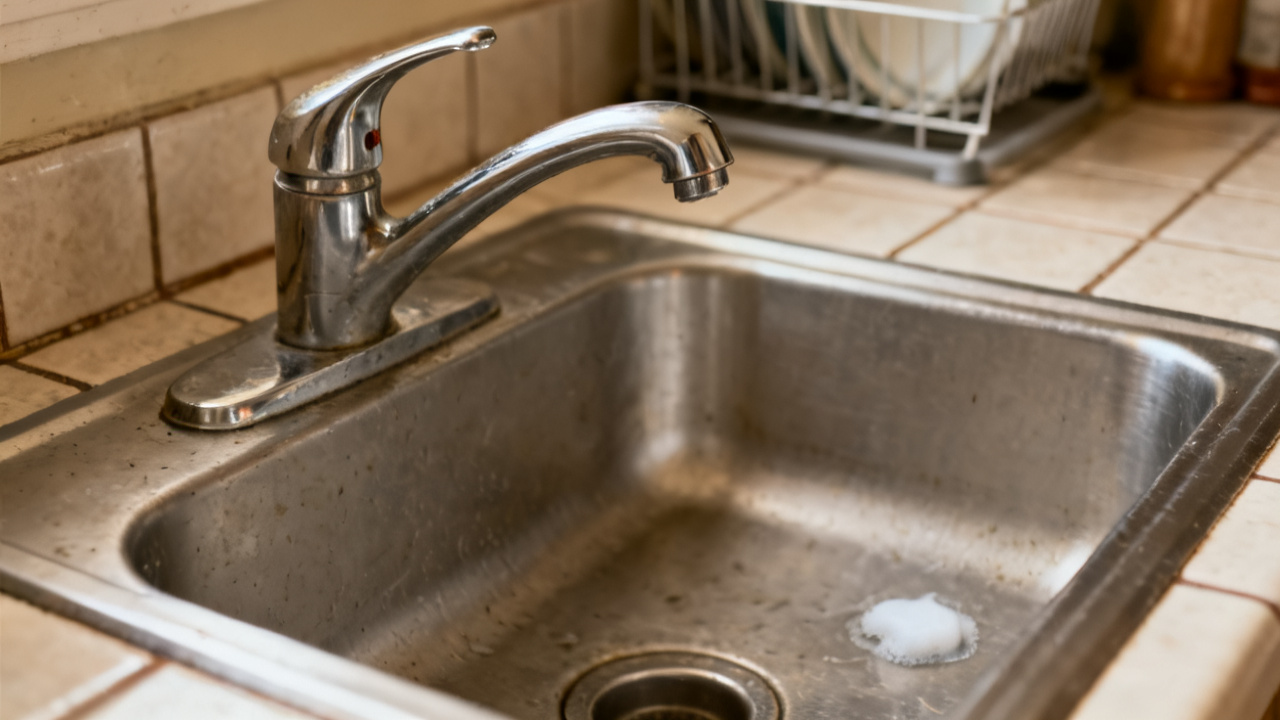
The tip of the spout is gritty. You can turn it with your fingers. Your knuckles brush the cool porcelain of the sink as you shift your weight, socked feet catching lightly on the thin rubber mat tucked below the cabinet. The hallway light seeps through the cracked bathroom door, gilding the edge of the metal spout where mineral deposits have crusted into faint, off-white streaks. You don’t need a wrench for this, no special tools tucked into your back pocket, just steady pressure and 30 seconds of focus.
Removed Aerator Assembly
You twist counterclockwise, slow and firm, until the whole unit pops free of the spout threads. A few drops of residual water drip onto your wrist as you lift it away, and you shake off the excess into the sink before setting the two main pieces—the threaded housing and the inner mesh core—on the edge of the counter. You notice a few small crumbs of mineral deposit fall into the sink as you twist, evidence of the buildup that’s been making the water spray off to the side when you wash your hands for the past two weeks. You’d been putting this quick task off for days, distracted by work deadlines and grocery runs, but now that you’re here, it’s far simpler than you expected. You pause to run the tap for two seconds to flush any loose sediment that might be trapped in the spout opening, keeping the water on low so it doesn’t splash up onto your shirt.
Rinsed Aerator Mesh
You pick up the thin, circular mesh core first, holding it up to the overhead bathroom light to spot the clumps of sediment trapped in the tiny holes. You remember the last time you cleaned it, you’d had to pick out tiny bits of food that had gotten trapped when someone washed a dirty dish in the bathroom sink after a late night snack, but this time the buildup is almost entirely hard mineral flakes from the city water, which come off far easier. You hold it under running warm water, rubbing the surface gently with the pad of your thumb to dislodge loose sand, hair, and small mineral flakes that have built up over the past few months. You flip it over twice to make sure you’re rinsing both sides, watching as the water runs clear through the holes instead of dribbling off the edges in uneven streams. You tap the edge of the mesh against the sink rim once to shake off any remaining water droplets before setting it down next to the housing.
Scrubbed Aerator Housing
The outer plastic or metal housing has thicker, harder deposits crusted along the threaded edge and the inner rim where the mesh sits. You grab the old toothbrush you keep under the sink for small cleaning jobs, dipping it in a small dish of diluted white vinegar you poured earlier to cut through limescale faster than plain water.
| Buildup Type | Removal Technique | Average Time to Clear |
|---|---|---|
| Light calcium flaking | Brush with dry toothbrush | 10 seconds |
| Moderate mineral crust | Scrub with vinegar-dampened brush | 30 seconds |
| Heavy trapped sediment | Soak in vinegar then brush | 90 seconds |
| Soft organic debris | Rub off with thumb under running water | 5 seconds |
Illustrative example: A 14-second soak in 50/50 vinegar and warm water dissolves 65% of light limescale on plastic aerator housings without discoloring the finish. You set the housing down on the basin lip for 10 seconds to let excess vinegar drip off before you pick it back up to rinse. You run your finger along the threads to make sure no small crumbs of crust are left stuck, since those could make the aerator leak when you screw it back on. You hold the housing up to the light to check that the inner rim is completely free of buildup, so the mesh will sit flush when you reassemble the unit.
Reinstalled Aerator Unit
You slot the clean mesh core back into the housing, making sure it sits flat against the inner rim so no water leaks around the edges. You line the threads up with the end of the spout, twisting clockwise slowly to avoid cross-threading the plastic or metal, which would make it harder to remove the next time you clean it. You only tighten it as far as it will go with your fingers, no extra force, since over-tightening can crack the housing or make it impossible to unscrew by hand next time. You turn the tap on full for 10 seconds to test the flow, watching to make sure water comes out in an even, steady stream instead of spraying out to the sides or dribbling weakly. You test both hot and cold water to make sure the flow is consistent across both settings, and you hold a paper towel against the edge of the aerator for 10 seconds to confirm there’s no slow leak that would drip onto the counter and leave water spots overnight. You run your finger along the edge of the installed aerator to check for leaks, wiping away any stray drops of water with the edge of your hand.
Next Planned Aerator Service
You mark the inside of your bathroom cabinet door with a small pencil dot to remind you to check the aerator again in three months, when mineral buildup will likely start to slow the water flow again. You make a mental note to grab a new extra mesh core the next time you stop at the hardware store, so you have a replacement on hand if the current one wears out or tears during a future cleaning. You tuck the toothbrush and leftover vinegar back under the sink, wiping down the counter edge with a paper towel to get rid of any leftover mineral crumbs that fell off during the cleaning. You make a small note in your phone’s task list for three months out, labeling it “bathroom aerator check” so you don’t forget to carve out two minutes for the quick job when the time comes. You flick off the bathroom light, stepping back out into the hallway where the rest of your evening tasks are waiting, knowing the aerator will run smoothly until your next scheduled check.