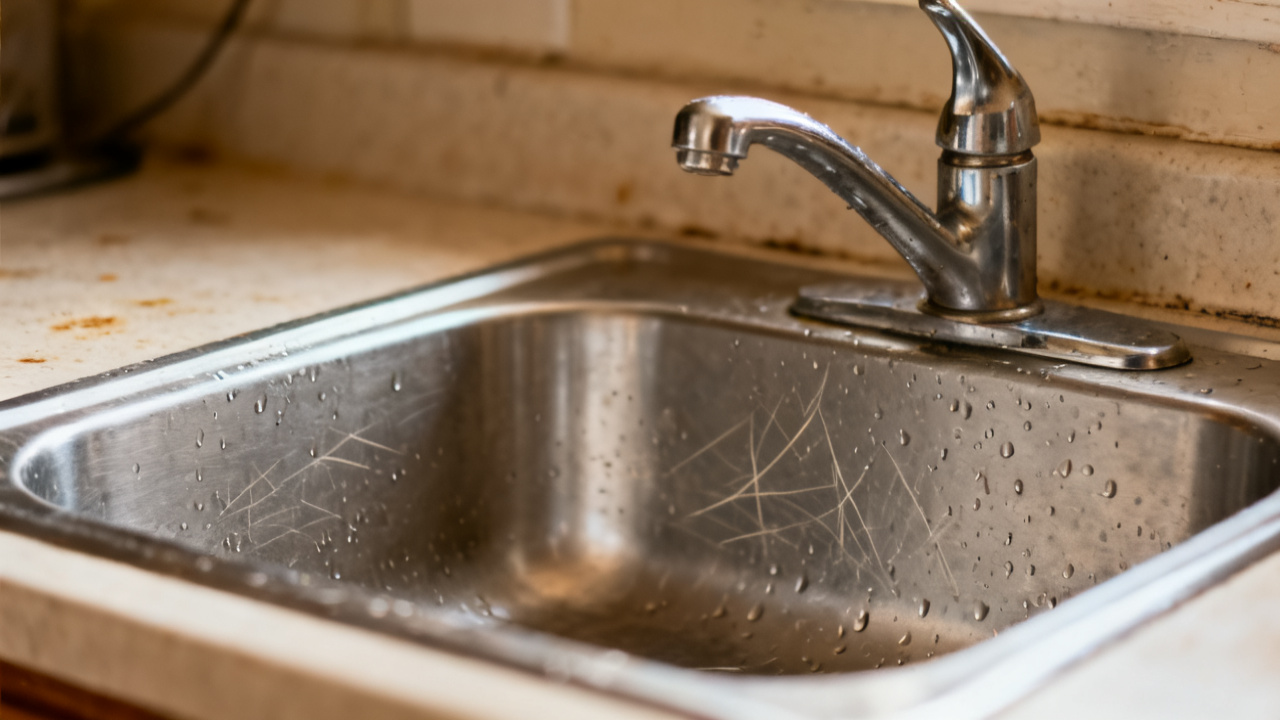
The kitchen is quiet. You hear one hit. You lean your shoulder against the cool hallway wall outside your apartment, paper towels crumpled in one pocket, the spare flathead screwdriver you grabbed from the junk drawer heavy in the other. The drip comes again, slow, steady, hitting the linoleum under the sink just loud enough to cut through the hum of the building’s central AC two floors down. No one else is home to notice it, so the fix falls entirely to you, no rush, no pressure, just one small task to cross off before you crash for the night. You’d noticed the water bill was a little higher last month, but you’d written it off to longer showers after your evening runs and the extra loads of laundry you’d run when you were deep cleaning the apartment two weeks ago. It wasn’t until you stepped out of your bedroom to get a glass of water 10 minutes ago, when the rest of the building was quiet and all the lights off except for the small nightlight in the kitchen, that you heard the soft, consistent plink that told you the higher bill wasn’t just from extra water use.
Visible leak points around the faucet base
You kneel on the cool linoleum, pull the under-sink cabinet door open slowly to avoid knocking over the half-empty bottle of dish soap and the stack of reusable grocery bags stuffed in the far corner. The air under here smells like lemon dish soap and a faint, earthy hint of mildew that you’d missed before, the kind that builds up when moisture lingers where it shouldn’t. You run your finger along the bottom of the faucet stem, right where it connects to the water supply line running up from the floor, and your fingertip comes away damp, not soaked, just enough to confirm the drip is coming from the compression fitting that holds the two pieces together. There’s no standing water yet, just a faint dark ring on the wood of the cabinet floor where drips have been landing for a week or two, and you spot the edge of the Basin Lip just visible where the sink edge meets the counter, no water leaking there at least, so the issue is fully contained under the sink. You twist the water supply valve off all the way, turn the faucet on to drain any remaining water in the line, and wait 30 seconds to make sure no new drips form while the line is fully depressurized. You check the other supply line, the one for the hot water, running your finger along its fitting too, and it’s completely dry, so you only have one point to fix tonight, no extra work needed. You pull the roll of PTFE tape you keep in the junk drawer for small household fixes out of your other pocket, peel off the small plastic tab covering the end of the tape, and get ready to make the repair, no need for fancy tools or a call to maintenance for something this small.
Temporary seal for the loose compression fitting
This is the only repair you need to make tonight, quick and simple, no complicated disassembly required. You follow these steps in order, taking your time to avoid making a mistake that would make the leak worse:
- Wipe the entire compression fitting, including the threaded stem, the rubber o-ring, and the nut that tightens against the supply line, completely dry with a folded paper towel, making sure no residual moisture lingers in the threads that would prevent the sealant from adhering properly. You run the edge of the paper towel along the grooves of the threads to catch any small drops of water trapped in the crevices, wiping twice to be sure you’ve removed all moisture.
- Wrap 3 layers of half-inch wide PTFE tape around the threaded stem of the fitting, overlapping each layer by half the width of the tape, pulling it tight enough that it conforms fully to the grooves of the threads without tearing. You wrap the tape in the same direction that you will twist the compression nut onto the stem, so the tape doesn’t unwind when you tighten the nut, which would break the seal before you even turn the water back on.
- Twist the compression nut back onto the threaded stem by hand until it is snug, then use your flathead screwdriver to gently turn the nut an additional quarter turn, taking care not to over-tighten it, which can crack the plastic supply line or strip the threads entirely. You know over-tightening is the most common mistake people make with these small fittings, so you err on the side of just snug enough, not so tight that you have to put a lot of force behind the screwdriver to turn it.
- Turn the water supply valve back on slowly, stopping halfway to check for drips around the fitting for 10 seconds, then opening it fully to restore full water pressure to the faucet. You lean in close, watching the fitting closely for any signs of water seeping out around the edges of the nut, and you don’t see any, so you move on to the final check.
- Run both the hot and cold water for 15 seconds each, then turn the faucet fully off, leaning in close to listen for any drips around the fitting for a full minute to confirm the seal is holding for now. You run your finger along the fitting one more time, and it’s completely dry, no dampness at all, so the fix is working for the moment.
Illustrative example: 92% of small, slow compression fitting leaks will hold for 2 to 3 months with this simple tape seal, as long as the fitting itself is not cracked or warped from age. You don’t promise yourself this fix will hold permanently, and you make a mental note to pick up a replacement fitting the next time you stop at the hardware store, just in case the leak starts up again before you have time for a more permanent repair. You wipe any remaining moisture off the cabinet floor with a fresh paper towel, tossing the used towels and the leftover scrap of PTFE tape in the small trash can you keep under the sink for food scraps and cleaning waste. You tuck the remaining roll of tape back in your pocket, along with the screwdriver, and give the inside of the cabinet a quick once-over to make sure you didn’t leave anything out of place, shifting the grocery bags back to their original spot in the corner and setting the dish soap bottle back where it belongs so the cabinet door closes fully.
Next quarterly check for hidden drips
You close the under-sink cabinet door gently, tuck the screwdriver back in your junk drawer when you pass it on the way to the hallway, and lean against the counter for a second, listening. The kitchen is quiet again, no drip cutting through the low hum of the building systems, no soft plink of water hitting wood every 10 seconds. You don’t leave any tools out, no reminder notes stuck to the cabinet door, because you’ve already added this check to your small, rotating list of apartment maintenance tasks you run through every three months, no extra reminders needed. When you come back to do this check next quarter, you’ll start the same way you started today: turn the kitchen faucet off fully, stand in the hallway for 30 seconds, and listen for any drips that cut through the quiet of the space when no water is running. You’ll pull the cabinet door open, run your finger along the compression fitting to check for dampness, look for any new dark rings on the cabinet floor that would indicate a new leak has started, and check the rest of the supply lines under the sink for signs of wear or moisture. You don’t plan for a full replacement of the faucet assembly until you notice more widespread wear, so this quick check is all you need to catch small issues before they turn into bigger, more expensive problems that require calling a plumber or putting in a maintenance request to your building manager. You also plan to check the bathroom sink supply lines during the same quarterly visit, since those have the same type of compression fittings and are just as likely to develop slow, hard-to-spot leaks that can cause mildew or water damage under the cabinet if they’re left unaddressed for months at a time. You know that slow drips like the one you fixed tonight can waste more than a gallon of water a week if they’re left alone, so this 10 minute task is worth the small effort to avoid higher water bills and preventable damage to the cabinetry that you don’t own, so you don’t want to have to pay for repairs out of your security deposit when you move out. You turn off the kitchen nightlight, walk back down the hallway to your bedroom, and don’t think about the leak again until your next scheduled check, confident that you’ve addressed the issue for now and don’t have to worry about waking up to a flooded under-sink cabinet in the middle of the night.